Disk imaging is a highly useful tool if you're wanting to create a whole copy of a volume and restore it back at a later date, either to the same disk or another one entirely.
It's an integral part of Disk Utility and, as with partitioning, creating & restoring images can be executed via the command-line.
Disk Images Explained
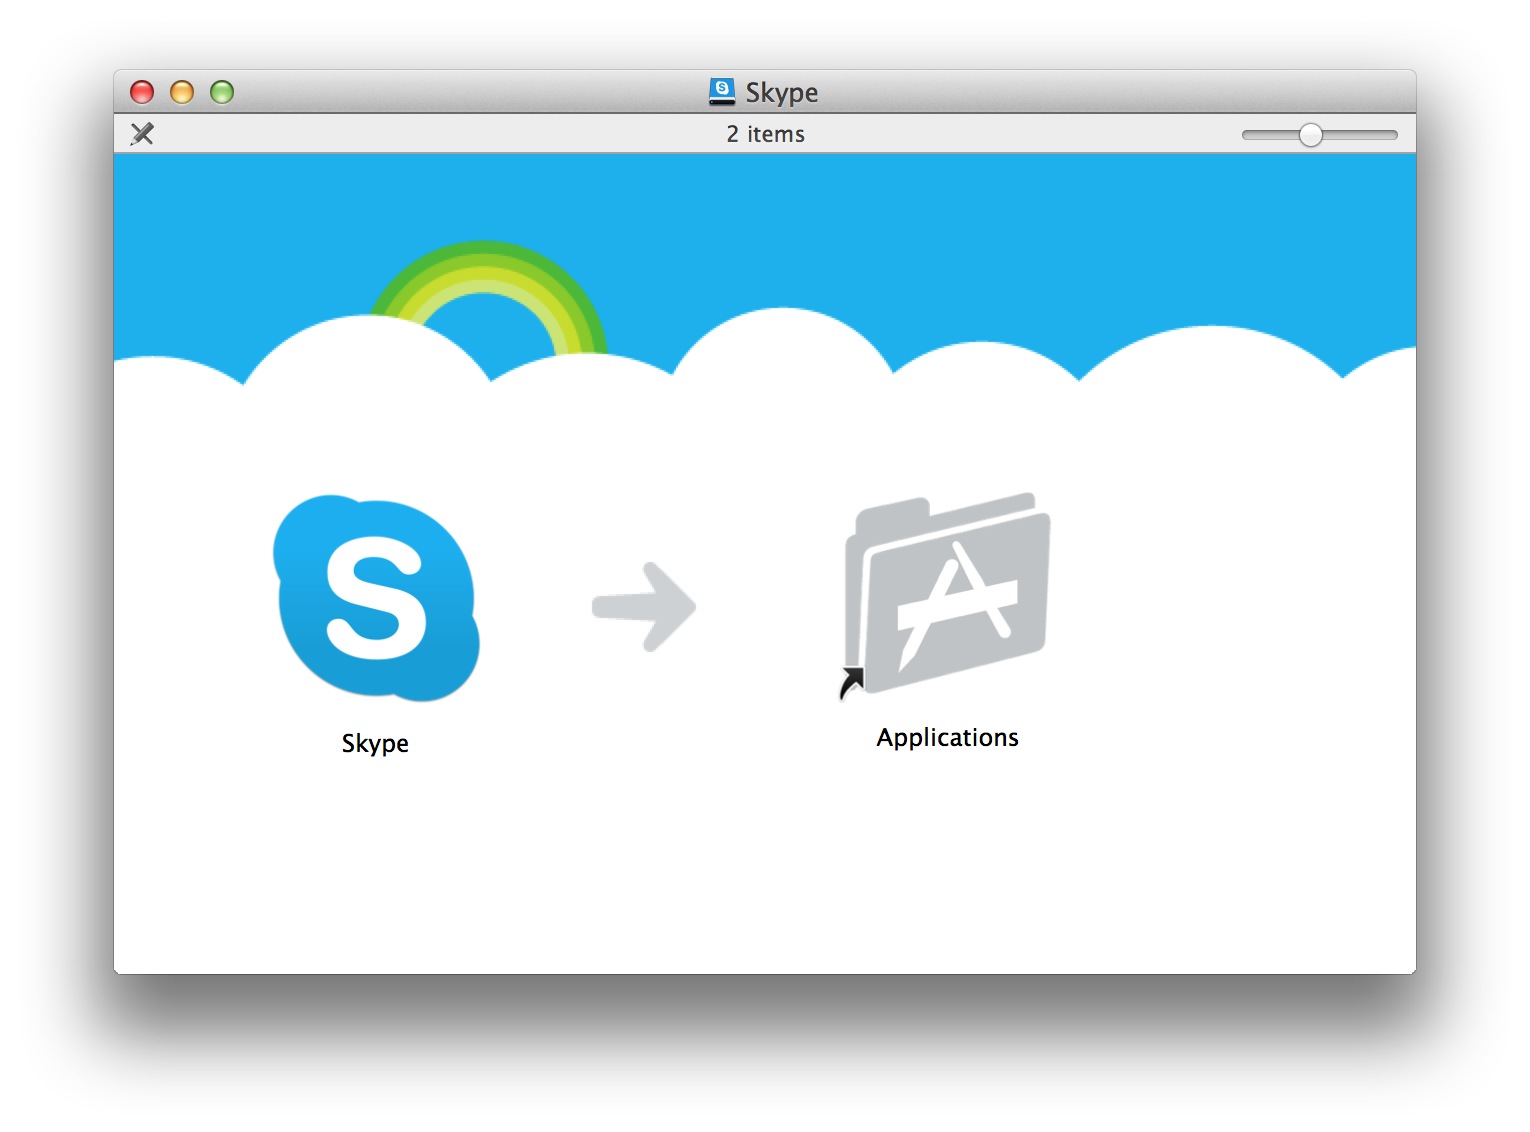
A disk image is a file containing the entire structure of a partition or even just a folder. On the Mac, disk images tend to be DMG files. You'll likely have come across these when downloading apps, such as Skype, from the web. If you remember the days of software that was provided on either a floppy or optical disc, disk images have been designed to work in much the same way but through digital, rather than physical, distribution.
Creating an image of a disk partition duplicates its entire structure into a single file, bit for bit. Let's say we had an external hard drive that contains a single volume and created a disk image from it. If we then restored this disk image to another external hard drive, it would contain the exact same volume with identical information.
Disk images also retain boot functionality, so images created from bootable OS X volumes can be created and restored. This is especially useful for those needing to configure tens, if not hundreds, of similar Macs with the same software configuration. Rather then repeat the entire configuration process on each Mac, it could be completed on just one Mac and a disk image of it created, then restored to every other Mac.
Creating a Disk Image of a Volume
The diskutil command is only for disk management, when it comes to creating and restoring images there are two other commands to know of.
The first, hdiutil, is used to manipulate disk images. For the purposes of this guide, we'll be using it to create new disk images (although there is a lot more the command can do).
To create a disk image of a partition, the command is:
sudo hdiutil create ~/Desktop/{disk image name}.dmg -srcdevice /dev/{disk identifier}Executing hdiutil in this way must be as root, hence it starting with sudo.
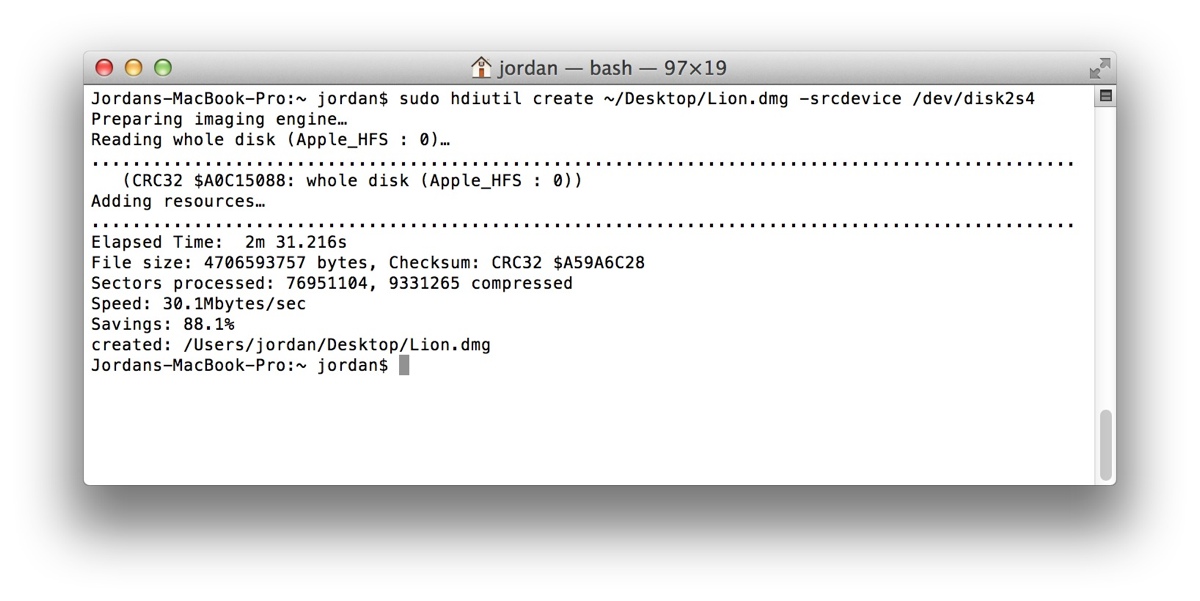
An example of this command in practice would be:
sudo hdiutil create ~/Desktop/Lion.dmg -srcdevice /dev/disk2s4This command will create a new disk image called Lion.dmg on the Desktop based upon the disk identifier disk2s4. In this instance, this referred to a volume containing an installation of OS X Mavericks.
Creating a Disk Image of a Folder
The hdiutil command can also be used to create a disk image based upon a folder.
hdiutil create {imagename}.dmg -volname "{Name of volume}" -srcfolder /{path to folder}'Using the above command, we could perform the following:
hdiutil create ~/Desktop/newimage.dmg -volname "New Disk Image" -srcfolder ~/Desktop/myfolder
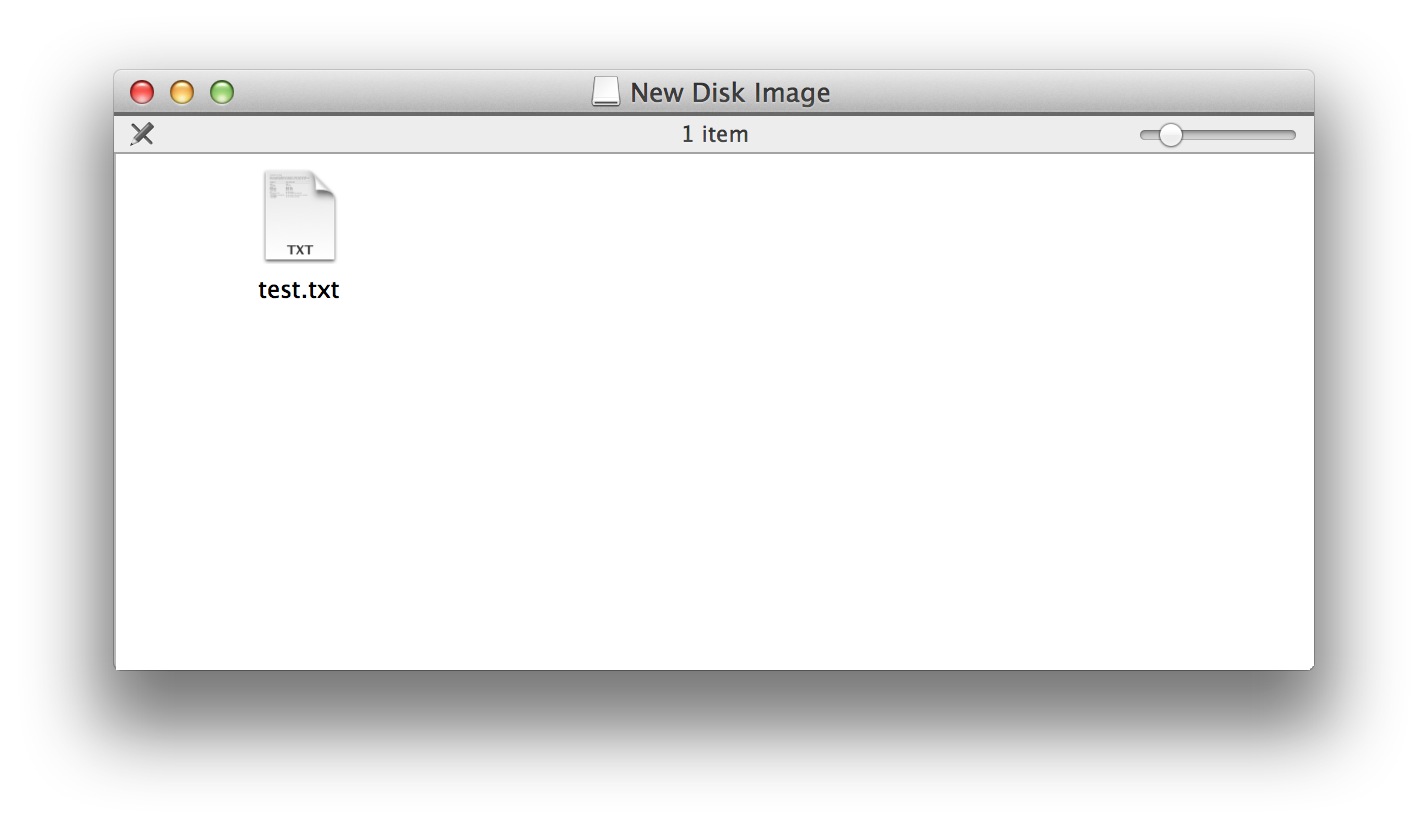
The name of the disk image and volume name are two different things, the first simply refers to the filename of the disk image created. When the image is mounted or restored to a disk, the volume name is what's referred to. So if I mount this new disk image, you'll see OS X mounts it as "New Disk Image".
Disk images generated using the above methods are read-only and formatted as HFS+ by default, though their size will be just enough to contain all the data needed.
Standard disk images cannot increase in size, so you'll need to specify a particular size if you intend to be adding data to it later. The parameter -size can be used to specify the size of the disk image to create.
If you need will need to modify or add more data to the disk image, use the parameter -format UDRW which represents read/write.
Combining all of the above, the command would be:
hdiutil create ~/Desktop/newimage.dmg -volname "New Disk Image" -size 1g -format UDRW -srcfolder ~/Desktop/myfolder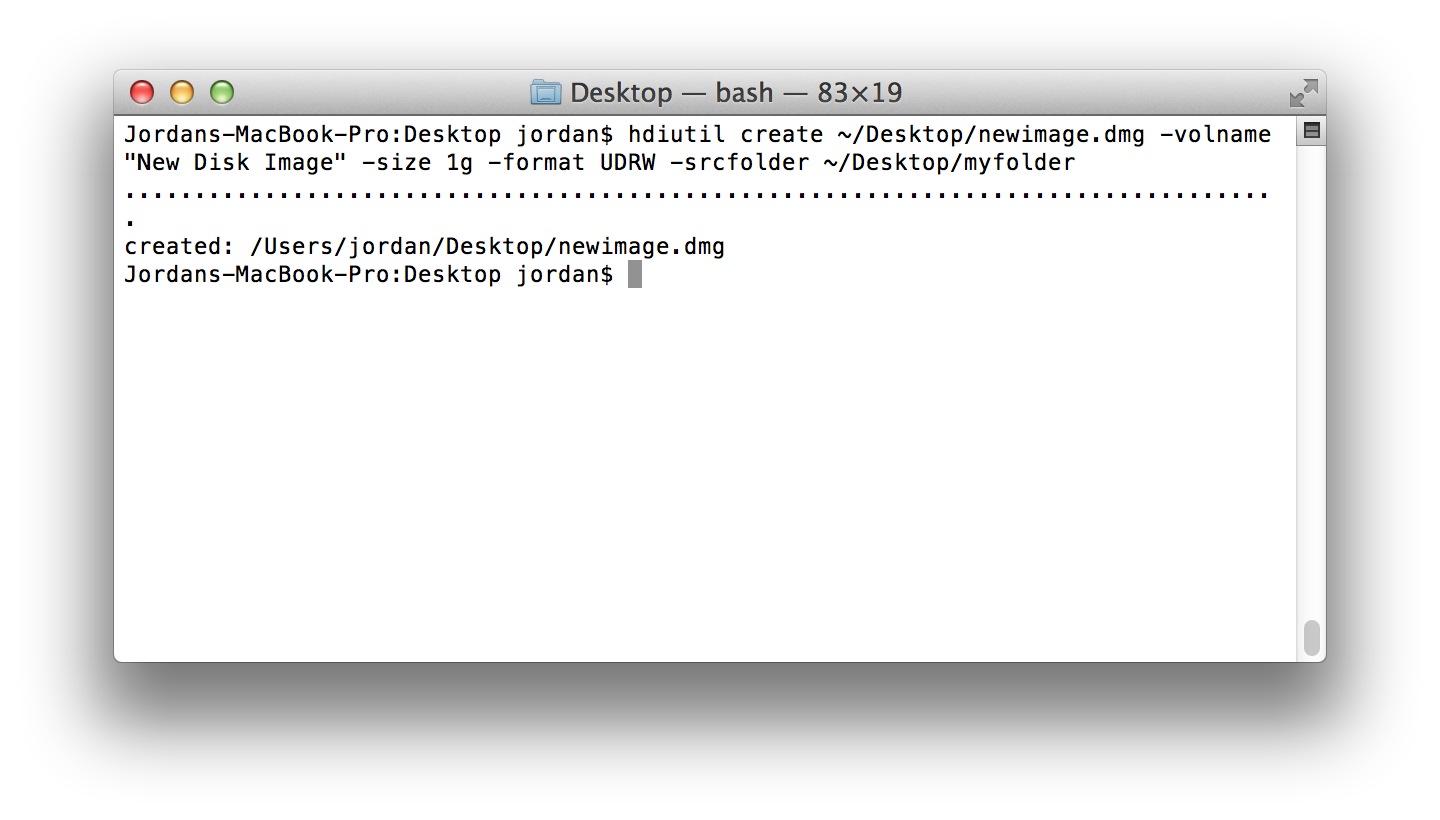
Creating Encrypted Disk Images
While Mac OS X doesn't support password-protected folders, you can create encrypted disk images and store important files within.
To create an encrypted disk image, use the command:
hdiutil create {imagename}.dmg -encryption -size {size} -volname {Name of volume} -format {filesystem}Unlike previous examples, encrypted disk images are read/write by default but contain no filesystem, so one must be specified before it can be used.
Here's an example command to create a 1GB encrypted disk image:
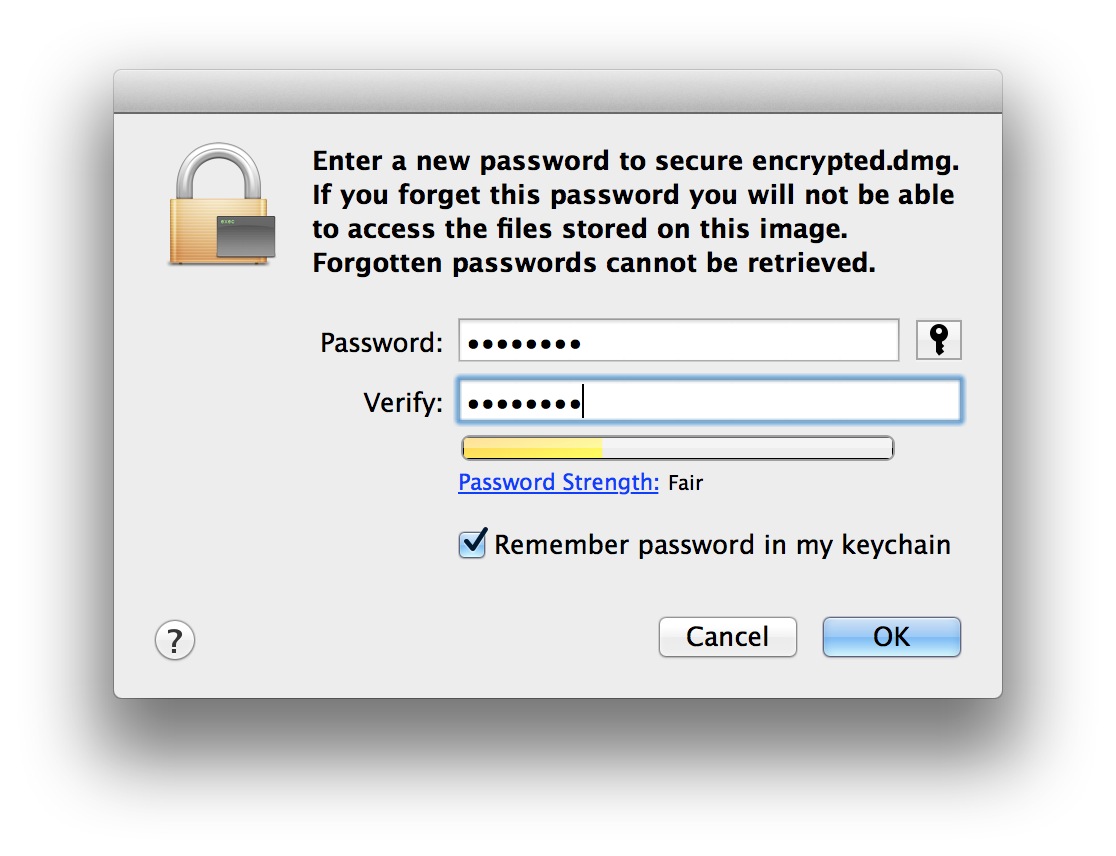
hdiutil create encrypted.dmg -encryption -size 1g -volname "Encrypted Disk Image" -fs JHFS+During the process, OS X's password generator will appear for you to either specify and confirm (or generate) a password.
Resizing Disk Images
Should you create a disk image that has become full, or one that was far bigger than necessary, it can be resized using the resize option and -size parameter.
hdiutil resize -size {new size} {imagename}.dmgProvided there is either enough free space on the volume the disk image is located on, or the size is not less than the total amount of data it contains, the disk image will resize according to the size specified.
hdiutil resize -size 2g newimage.dmgRestoring Disk Images
Copying a disk image to a volume on a disk is more commonly referred to as restoring, you would restore a disk image. Although the term implies the disk image may have originated from the disk you're using in the first place, it's used regardless of that fact.
Restoring disk images isn't done by either hdiutil or diskutil, but by the next command we'll be looking at: asr.
asr (Apple Software Restore), is used to copy (restore) a disk image to a disk. The command used to restore a disk image is:
sudo asr restore --source {disk image}.dmg --target /Volumes/{volume name}There are some options that can be included to speed up the process which can be added to the end of the command.
- noprompt (doesn't display any prompts before erasing or restoring)
- noverify (skips verification after restoring)
- erase (erase the target volume before continuing)
An example command using these option would be:
sudo asr restore -source ~/Desktop/Lion.dmg -target /Volumes/Lion -noprompt -noverify -erase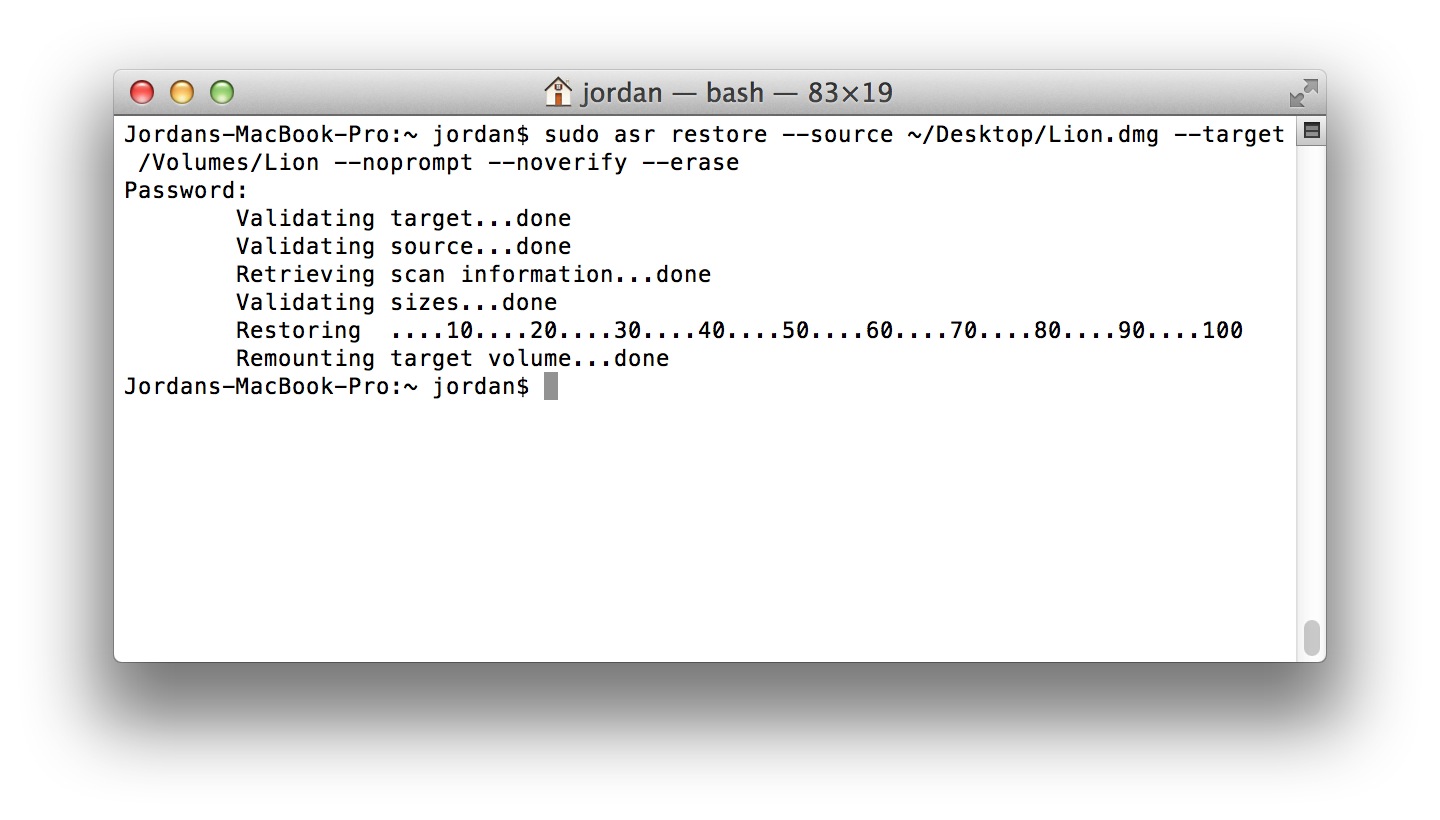
Restoring Volume to Volume
If you needed to duplicate a volume from one external hard drive to another, you don't need create a disk image first as asr can restore one volume to another.
The command to do this is similar to restoring a disk image, but we reference a volume instead of a disk image. For example:
sudo asr restore -source /Volumes/Mavericks --target /Volumes/NewVolume -noprompt -noverify -eraseOnce completed, the target volume will be identical to the source volume, even taking the same name.
Wrapping Up
Using a combination of diskutil, hdiutil and asr, the functions of Disk Utility can all be performed via the command-line, from encrypted disk images to basic volume duplication.